Loading... Please wait...
How to Replace the Battery in the Kindle Fire HD 7 Inch X43Z60
Posted by mpfproducts.com on 10th Sep 2014
Use this detailed step-by-step repair guide to help you replace the battery in your Kindle Fire HD 7” X43Z60
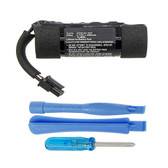
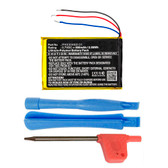
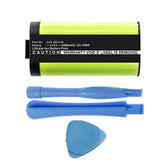
Necessary Replacement Parts:
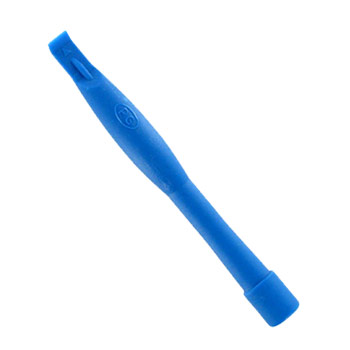
Necessary Replacement Tools:
Note: Above tools are included for FREE when this replacement battery is purchased from mpfproducts.com.
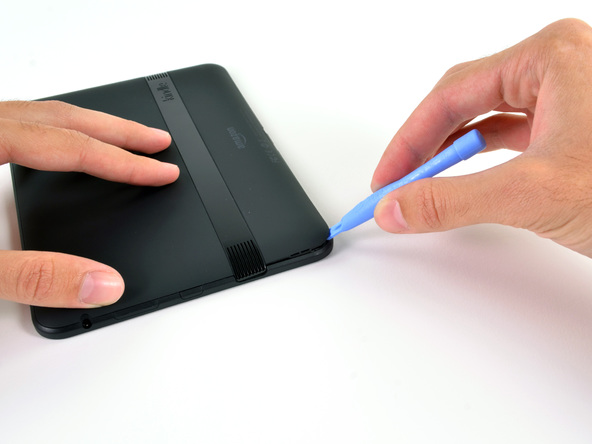
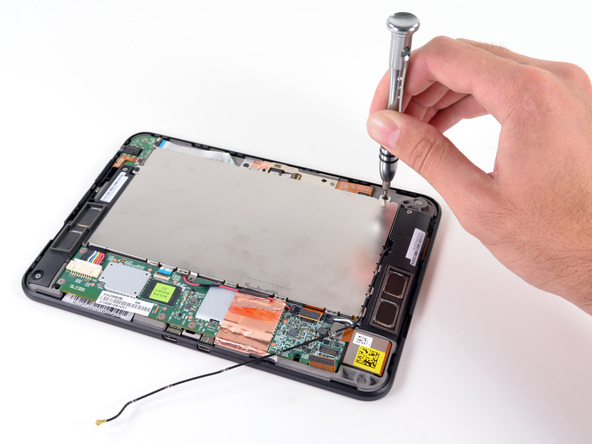
Step 1
- Insert the plastic prying tool into the seam of the Kindle. Check the tool to be sure the small arrow on the prying tool is pointed toward the backside of the Kindle.Typically its easiest to lay the device with the back facing up (take care to be sure the screen will not be damaged or scratched on the surface you use) as shown below which would have the arrow visible to you as its inserted.
- Once correctly inserted, gently pry the tool all around the perimeter of the Kindle. This will separate the clips that secure the back cover to the body.
- Separate and remove the back from the Kindle Fire HD.
Step 2
Working with the back portion of the Kindle Fire HD:
- Locate and remove the four (4) Phillips screws using the small Phillips #00 Screwdriver.
- Locate and remove the one (1) T5 torx Screw using the T5 torx screwdriver.
- Place the 5 screws in a safe area.
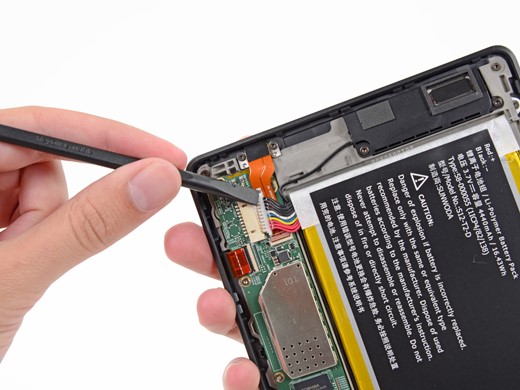
Step 3
- There is a small black (antenna) wire that runs the length of the metal battery casing. Using the pry tool carefully pry the plug‘s connection piece up and remove the wire out of the channel. (pictured above)
- Next, separate the black antenna wire from the battery.You will need to remove the tape from the metal casing to do this. When you remove the tape from the battery casing keep it in tact so you can re-adhere.
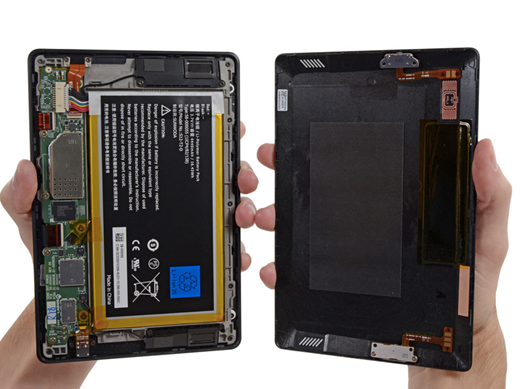
Step 4
- Disconnect the battery
- Lift up the metal battery casing
- Carefully remove the original battery from the metal case
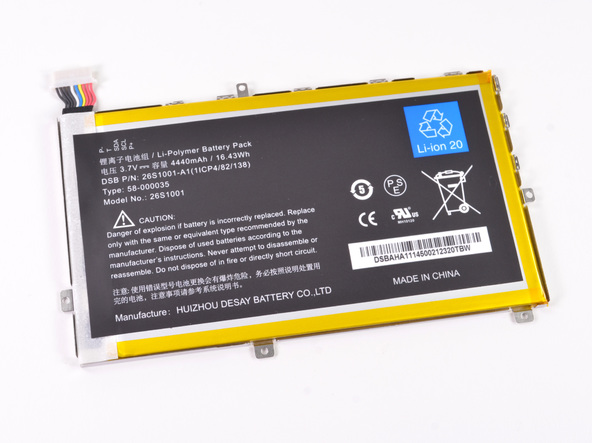
Step 5
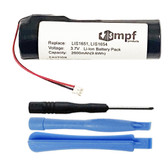
Once the old battery is removed from the metal battery casing, replace with your New Replacement 26S1001 Battery for Amazon Kindle Fire HD 7 Inch X43Z60 Tablet (pictured below) and follow steps in reverse order to reassemble.
Recent Posts
- » How to replace the EB-BT330FBU battery in a Samsung Galaxy Tab 4 8.0"
- » How to Replace the 26S1006A 58-000092 Battery in Kindle Fire HD 6 PW98VM
- » How to Replace the B01PQIL Battery for Barnes & Noble Nook Glowlight BNRV500
- » How to replace the LIP1359 battery in your Sony PS3 Dualshock 3 Controller
- » How to replace the LIS1442 battery in your Sony PS3 Move Navigation Controller